
U-Line Appliances: Beverage Paradise
January 21, 2020
Whirlpool Bathtubs
February 10, 2020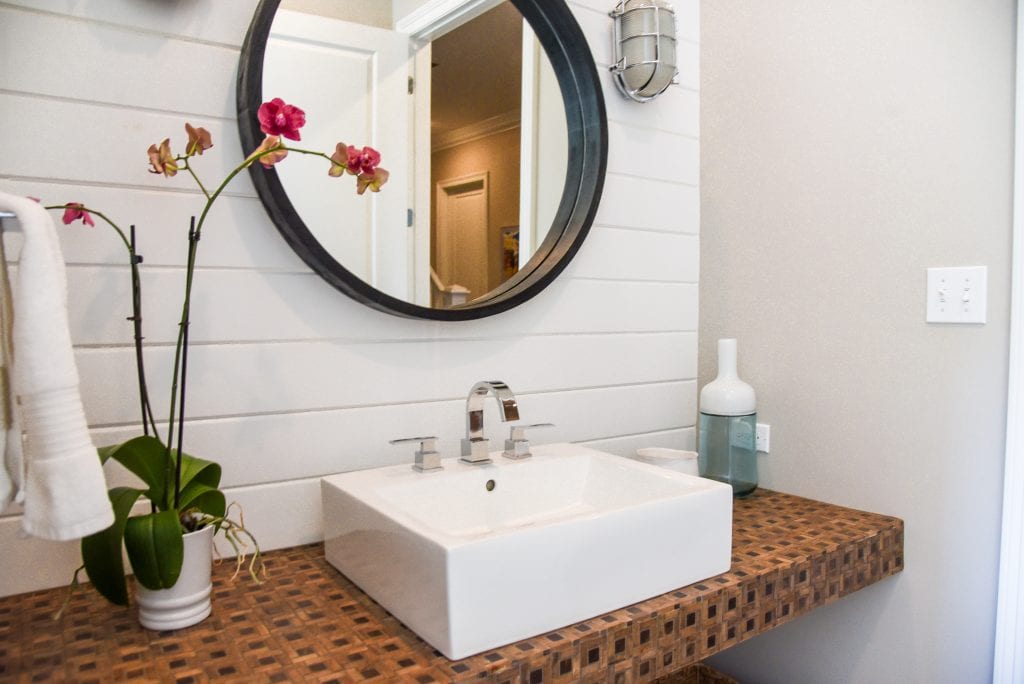
Installing a new bathroom sink faucet is a very simple process and only takes about 5-10 minutes. Before installing your new faucet, however, you’ll have to purchase one! Consider all of your options and find a style and brand that you like. Our showroom floor is home to a wide variety of bathroom sink faucet brands such as Rohl, Kohler, and Delta. After you’ve found the faucet of your dreams, then all of the fun begins!
Step 1: Shut off the water
The first step in installing your new bathroom sink faucet is to shut off your water. Depending on your home, this can be done by looking under your sink for a shutoff valve, or by shutting the water off outside. After the water is shut off, you may need to turn the faucet on in order to release any pressure and drain any excess water.
Step 2: Disconnect hot and cold supply lines
Your next step will be to disconnect the hot and cold supply lines which are used to transport water to the faucet. This can be done by using an adjustable wrench to loosen the nuts where the hoses attach to the water supply.
Step 3: Remove the old faucet
Once the supply tubes are disconnected, loosen the locknuts (also referred to as mounting nuts) from the old faucet and the lift rod for the drain plug. At this point, everything from your old bathroom sink faucet should be fully disconnected and ready to be replaced. Upon removal, it is a great time to clean underneath your old faucet using a simple household cleaner or soap, and a sponge or gentle abrasive pad.
Step 4: Place the new faucet
The next step in installing your new bathroom sink faucet is to place the gasket, which is a piece that sits between the faucet and the sink to prevent leaks and ensure a proper seal. Line up the gasket’s holes with the valves and tailpipes on your new faucet. If your gasket is plastic, then simply snap it onto your new faucet. On the rare occasion that your new faucet does not come with a gasket, you’ll need to apply some type of sealant before placing down the faucet. After the faucet is placed in its proper position, tighten the mounting nuts underneath the sink and reattach the supply lines. Be sure to tighten them with your adjustable wrench and reattach the lift rod to the drain. Turn the water back on and you’re all set! Check for any leaks around the faucet, and if there are any leaks, then tighten the connections. Enjoy your new stylish bathroom sink faucet and be sure to pat yourself on the back!
