
Outdoor Kitchen “Need to Know”
March 11, 2020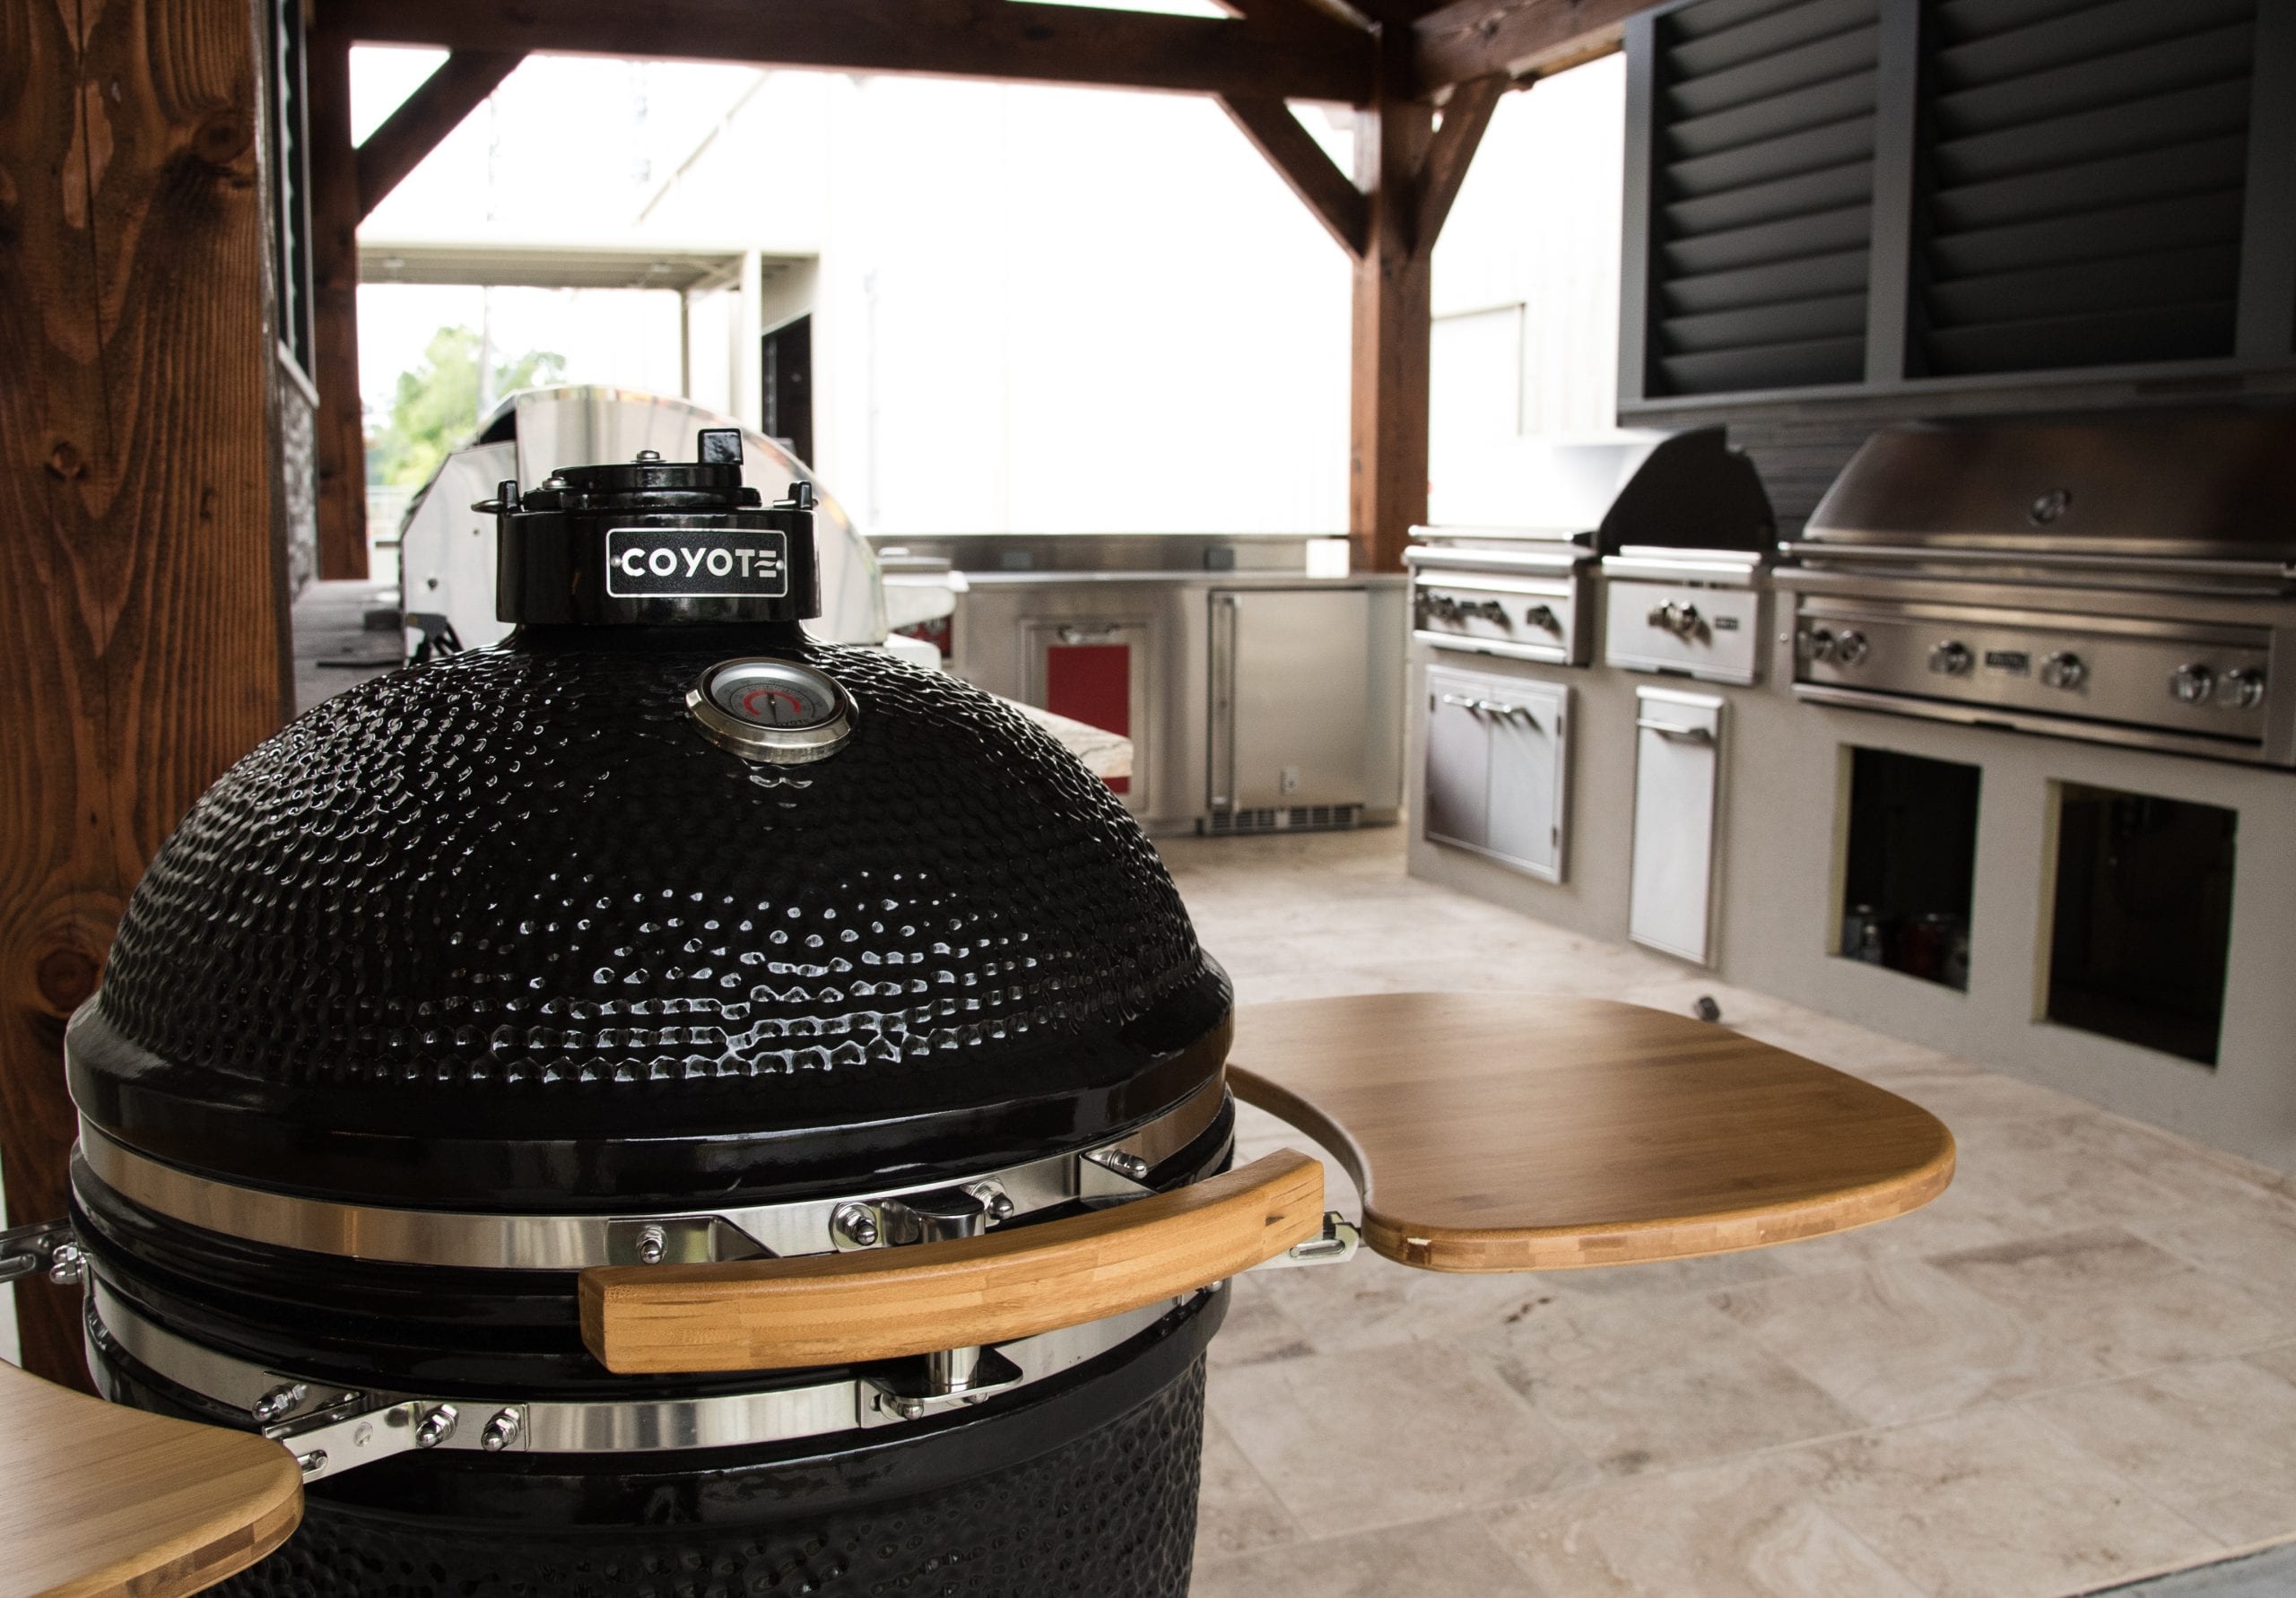
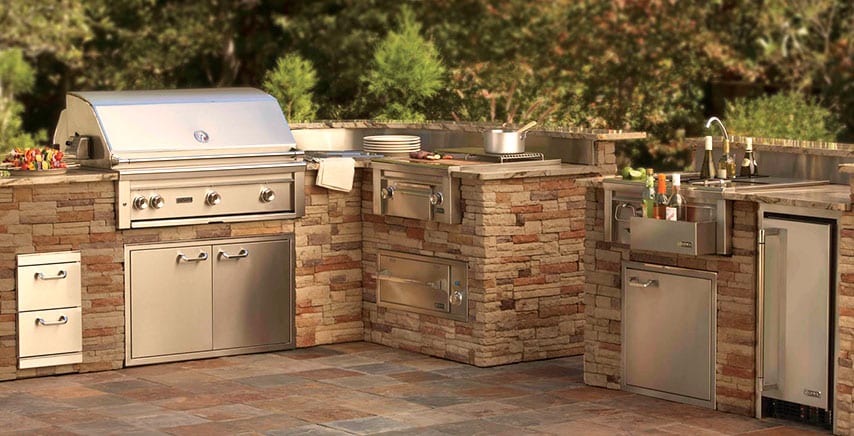
Outdoor Kitchen Essentials
March 25, 2020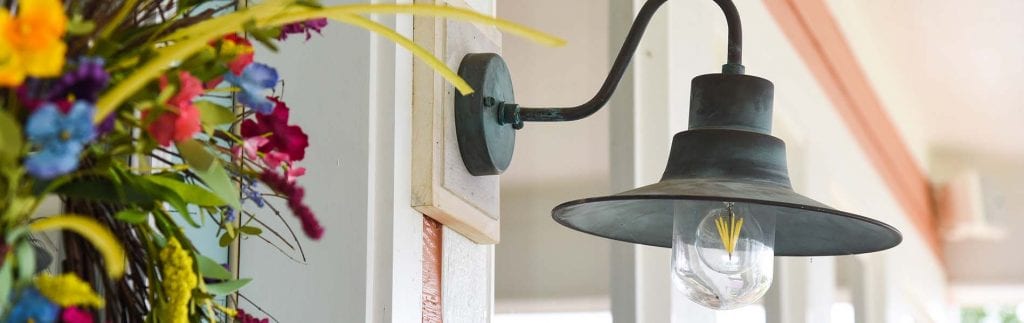
Out with the old and in with the new. When the time comes to replace your outdoor light fixtures, the process is surprisingly easy and hassle-free. Upon finding the outdoor light fixture of your dreams from our showroom floor, installation is quick and will only take about 5-10 minutes. Here are the 5 steps to install your new outdoor light fixture.
How to Install Your New Outdoor Light Fixture
Step 1: Turn off your power
Avoiding any type of shock or danger when it comes to replacing your lights is the #1 priority. Although it may be a tad obvious, make sure your area is dry to avoid any possibilities of electric shock (a dry and sunny day is your best option.) Also, make sure to turn the power off through the circuit breaker instead of just the light switch to avoid the possibility of someone accidentally turning the light switch on.
Step 2: Remove the existing light fixture
It’s always hard to say goodbye to a light fixture that’s been so reliable over the years, but adding a new and modern light fixture to your porch or patio will undeniably give the space a whole new look. Remove your existing light fixture from its mount by unscrewing it with a screwdriver or power drill while holding it in place so that it doesn’t fall and break.
Step 3: Install the new bracket
Your new outdoor light fixture will come with mounting hardware which includes a mounting bracket. Your old bracket may appear to fit the new light fixture, but it’s always best to simply use the new one due to varying screw sizes and models. Tighten the center screws once your new bracket is installed and make sure the bracket is level to ensure that your new light is not angled.
Step 4: Wire the outdoor light fixture
Once your bracket is set in place, wrap the ground wire (most commonly a copper or green wire) around the ground bolt (most commonly a green bolt) on the bracket. Tighten the ground bolt and connect the wires from the junction box (the wires already installed from your previous fixture) to the wires on the new fixture according to instructions (i.e. black to black, white to white, and ground to ground.) Twist the bare ends of the wires together and seal the ends by using plastic wire connectors.
Step 5: Install your new outdoor light fixture
Fold the wires in and then break out your new outdoor light fixture for installment. Attach the new fixture to the mounting bracket with the appropriate screws and knobs, then tighten to secure. Insert your light bulb and you’re good to go! Let your new outdoor light fixture elevate your space both aesthetically and functionally.
